


To help us grow, some of our posts contain affiliate links.
We get a tiny percentage of the sale if you make a purchase using one of our links. These links allow us to keep bringing you honest, detailed reviews on products from your favorite companies.
From Amazon: CraftYourself.de is a participant in the Amazon Services LLC Associates Program, an affiliate advertising program designed to provide a means for sites to earn advertising fees by advertising and linking to Amazon.com
You can also help us grow by liking us on Facebook!
7 Genius Scrapbooking Storage Ideas For Small Spaces
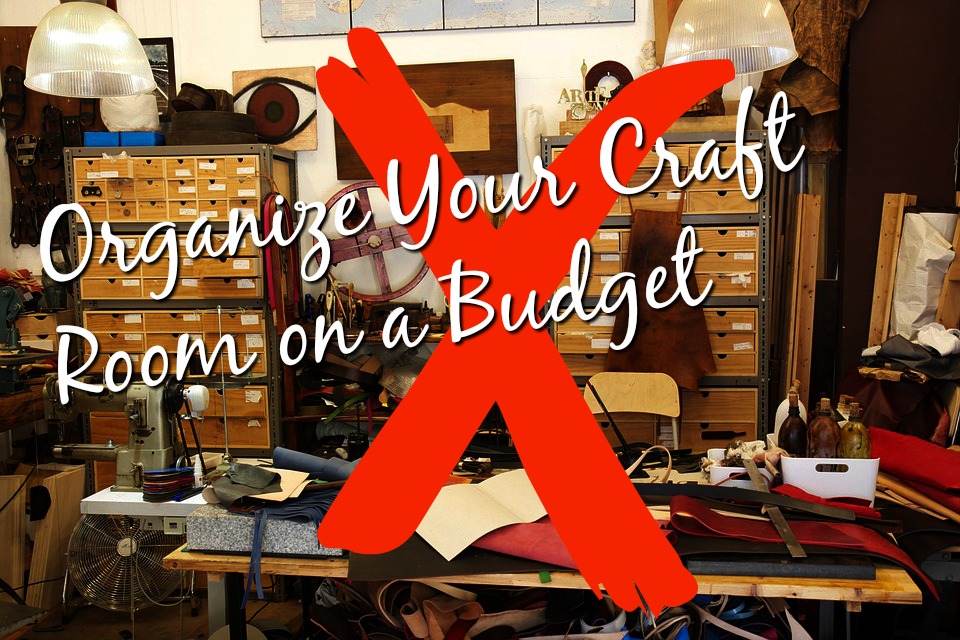
We’ve talked before about organizing your craft room on a budget, but we also get a lot of questions about scrapbooking storage ideas for small spaces.
If any of you are hoarders collectors like us, you know how frustrating it can be to find a convenient way to store and access your paper craft supplies. It’s not just enough to have a box to hold your scrapbook paper, punches, stamps, etc. You also need to be able to quickly find and use them.
Plus, out of sight, out of mind. If you can’t easily see your supplies, it is easy to forget what you have. This can lead to buying duplicates or worse, not scrapbooking at all. *gasp*
In all seriousness though, if you have a small space, storing your paper craft supplies can be a real pain. Take a look at our list of 7 genius ways to store your scrapbook supplies in small spaces and regain control of your craft room.
1. Punches, Tools, & Ribbon Stay Out of the Way in an Over-the-Door Organizer
A lot of crafters use a pegboard to hold their tools and other scrapbooking supplies, but they can be hard to build or install. Plus, they give an industrial look that doesn’t mesh with the decor in all homes. We recommend instead to use an over the door organizer like this one:
We like this style of organizer instead of the plastic shoe holders because scrapbooking tools can get quite heavy. They can rip through the plastic and also make your storage solution look too cluttered. Plus, using storage baskets give you a lot more space and flexibility. For about the same price as a shoe organizer, you can get a lot more class. You can read more about this one from Storage Dynamics here.
2. Vertical Scrapbook Storage Maximizes Your Small Space
Even a small room can have a lot of unused vertical space. Using a tall bookcase to store your scrapbook supplies can make a huge difference.
The trick here is to find a bookshelf that reaches almost to your ceiling. Sure, you might need a small step ladder to reach the top, but that beats the heck out of rummaging through heavy, overstuffed boxes under your desk.
You also want to think about the deepness of the shelves. Aim for a depth of around 12 inches so you can store your 12×12 inch scrapbook paper.
We like this tall, narrow bookcase from South Shore Axess. It has a height of 7.5 feet and the shelves are 11.5 inches deep.
3. Use Labeled Boxes to Appear Organized & Tidy
Of course, you can also just make your own label by writing on a pretty piece of washi tape. Labeling the boxes is important though, because rummaging around for your scrapbooking supplies wastes precious crafting time.
4. Bed Risers Help You Reclaim the Space Under Your Bed
These heavy duty risers from Jeronic can give you an extra 8 inches of space underneath your entire bed or desk. We like this brand because they are notoriously sturdy. You wouldn’t want your bed to come crashing down during some rigorous…..exercise.
If you can afford it, you should also consider getting storage bins specifically designed for under the bed storage. They are a little pricier than regular storage bins, but they have wheels and are made to slide under a small space.
We like these wooden bins from Homz Long because they have a chalkboard for easy labeling. It’s also much more convenient to use a bin without a lid for items that you want to access regularly.
For under your desk, try a storage cube like this one from Foremost. It is only 15 inches high, so it can pull double duty as a scrapbooking storage solution and a foot prop! Plus, you can combine multiple cubes to maximize all the under desk space you have.
5. 3-Ring Binders Save Space & Time
The best part is that you can stick a label on the spine of the binders and store them on your tall bookshelf for painless access.

image source: Noel Mignon Layouts
We prefer these binders from Wilson Jones because they are inexpensive but notoriously durable. But you can use any kind of binder you like. Just make sure that it is labeled for heavy duty use or it will quickly fall apart from holding your scrapbooking supplies.
6. Take Advantage of Awkward Wall Spaces To Display Your Pretty Items
While these are not the most typical spots to store your scrapbooking supplies, if you have a small space then you need to get crafty. (hehe, we made a pun!)
If possible, installing a small but sturdy (and pink!) wall shelf like this one from Fast Home Goods is your best bet. They are lightweight but still allow you to hold a lot of small items.

But if you cannot drill into your walls, try this cool adhesive shelf from K-Zer. A few caveats though. First, this is best for displaying finished projects and other lightweight items. The manufacturer says it can hold up to 10lbs, but you should keep it around 5 lbs to be safe. Second, be sure to follow the installation directions exactly. This shelf definitely works but it feels like a bit of a physics miracle. You have to install it in the correct way.
7. Magnetic Tool Bars Are Your New Best Friend
Plus, you can peel the logo sticker off with a rubber adhesive remover. Stampin’ Up makes a really good one.
So there you have it, our 7 Genius Scrapbooking Storage Ideas For Small Spaces. Which one is your favorite? Let us know in the comments below!

I have an 8 x 8 bedroom I’ve converted to a craft room. I have a kitchen counter on one wall as my work space. I have a dresser and a cabinet and lots of fun storage areas but I still can’t get comfortable with the arrangement. I have been downsizing but still have too much! Any suggestions? Thank you.